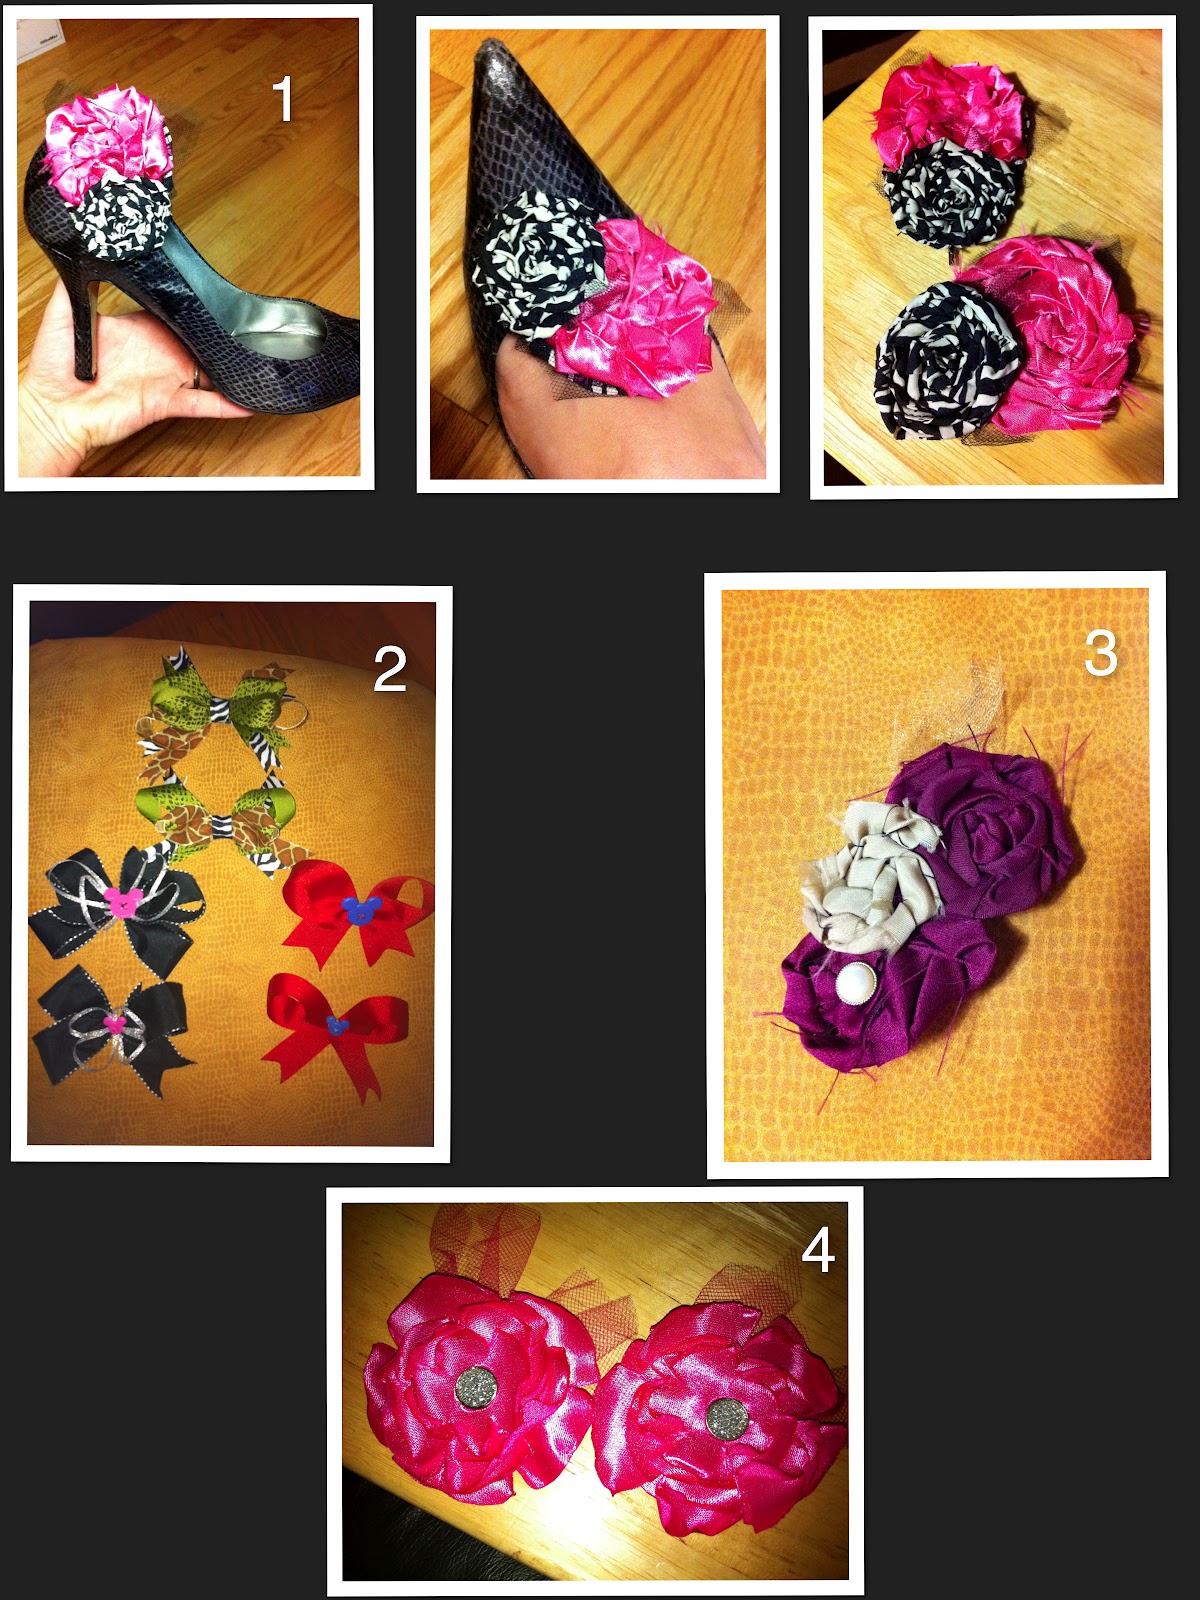
Above are the Accessories I created for friends and family.
Pictures 1 & 4 are shoe clips. They can be used as hair clips or even a hat clip.
Picture 2 is of the hair bows I made for my girls for our Disney trip in December. They had matching bows to match their shirts.
Picture 3 is a lapel pin.
For Pictures 1 & 3 I used the technique of twisting. I cut a long piece of fabric, left the frayed edges and twisted and twisted until I got the size I want. I sewed the fabric as I twisted, well, really just tacked it. Added toile and an embellishment and mailed them off!
For Picture 4 I cut five different sized circles, cut slits at various places and used an open flame to burn the edges. Added toile (I love that stuff) and an embellishment and mailed that one too!

Button Art - this was a lot of fun. I chose the shape I wanted, printed it out on plain paper, put it behind the glass and hot glued away. Chose a nice pattered paper, cut it to fit the frame and secured the frame. So the buttons are on the outside of the glass. With the letter D you see I just used whatever buttons. With the fleur de lis I used all neutral colored buttons. So it is definitely a craft that will look unique every single time! Gave these as Christmas presents.

Wall Decorations -
Picture 1 - I did with my older sister for my younger sister. My older sister thought of this and we had fun together. We took a map of Uruguay (which is where my sister Mandy and her husband are going to be full time missionaries) used decoupage. Oh, we bought the letters G & O and the small plaque at an arts and craft store. Bought the hardware, my brother in law attached it ever so wonderfully. And we added the Scripture. They LOVED it!
Picture 2 - was for my friend who loves anything to do with music. It is a wall wreath. I could not find a music book at the thrift store so my wonderful mother let me use her old ones, which made it all the more special. I cut a round piece of cardboard. Then I rolled the pages and hot glued to the cardboard. After I was finished it was rather large. But it fits perfectly on my friends' wall with her other music note wall hangings. Success!
Picture 3 - was for the same friend. Her birthday is shortly after Christmas. I bought a piece of ply wood, I seriously went to Lowe's, the the ply wood section and told them I needed a piece cut "this big" with my hands at a certain width. Ha! So I think it was about 11 or 12 inches. I used decoupage for the sheets of music. Printed the word KEYS, decoupaged those. And had my wonderful husband put the hooks on. I've used wonderful 3 times.....oh well. My friend loved it!

Coasters!!! This was a ton of fun, but so were all the others! As you can see I made a lot. I intended to make a set for a friend for Christmas. Loved it so much decided there were so many other people I would love to give gifts to!
I bought tiles at the hardware store I think like 16 cents each. Used scrapbook paper, cut them to size, and you guessed it - decoupaged! After they were dry I took them outside and sprayed clear acrylic on them to give them that beautiful shine and to protect them from moisture. I absolutely loved giving these to my friends. The color combinations were so much fun to make!

This last one was for myself. I had all the stuff so why not make a custom iPhone case. I already had a basic iPhone case then I cut the scrapbook paper to size. I added my initial. Decoupaged it then sprayed the clear acrylic coating on. Of course make sure your iPhone isn't in the case and don't put it on until it completely dries. Bad thing, I did not have the proper cutting tools so the piece that was cut out for the camera wasn't big enough and it was messing up my photos! :( boo hoo.
So I gave very basic instructions - because these were pretty basic crafts. But of course I will give more detail if needed and will help you find the tools you need if you want to create any of these!
Happy Crafting!
Fun....thanks for the ideas, Michelle!
ReplyDeleteKaren E